Cabinet |
 |
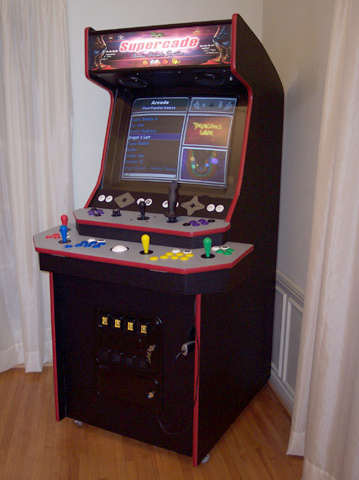
This cabinet was put together with 3/4" plywood. I built the previous two machines using Medium Density Fiberboard. MDF is much easier to work with, but it is very heavy. I wanted to make this machine a little lighter, so I used plywood. The t-molding groove was drilled using a spiral saw (it is better to use a router, but I didn't have one at the time).
All of the images on this page can be clicked on to reveal larger versions.
|
|
 |
|
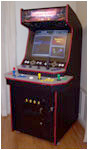
Full frontal picture of the cabinet. This is the unedited version of the image on the homepage. |
| |
|
|
 |
|
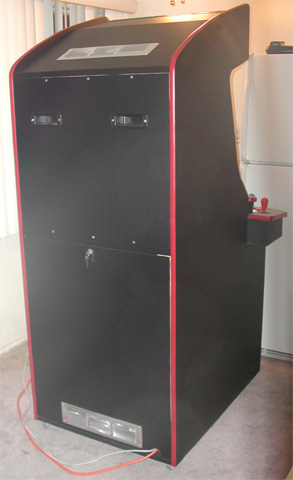
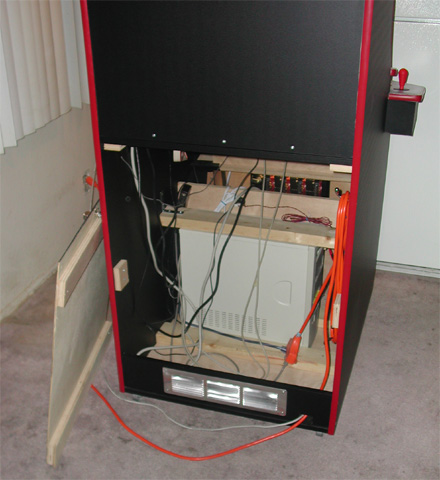
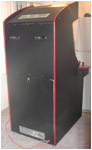
The back side showing the upper and lower doors, and the handles for moving. The upper door is screwed in place, while the lower door is opened with a key. The silver panels on top and bottom are where the fans are mounted. |
| |
|
|
 |
|
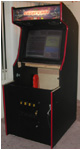
The cabinet with the control panel removed. Because this machine uses an oversized control panel, it is critical that it be removable (otherwise you'd never get it through a doorway). |
| |
|
|
 |
|
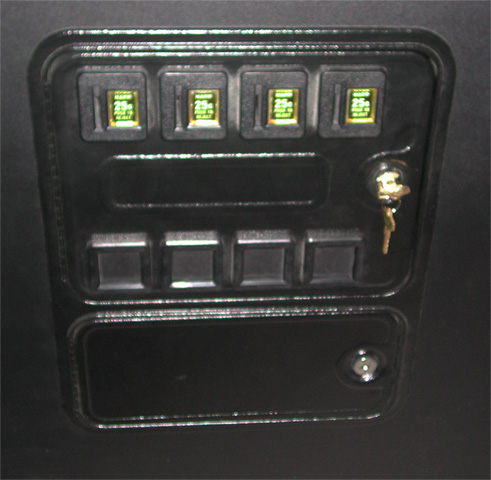
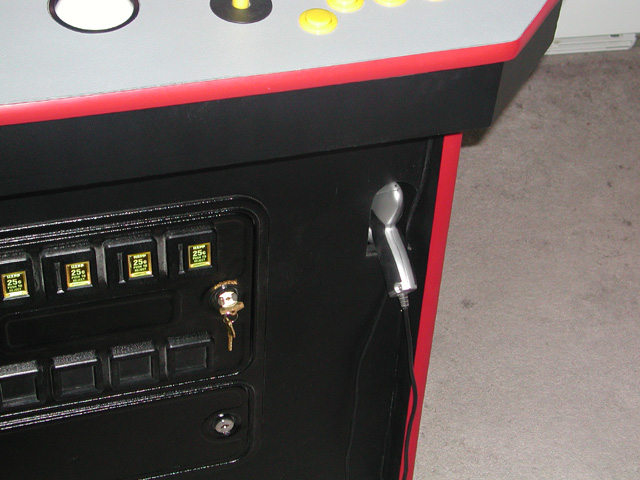
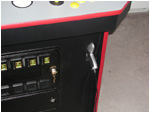
The coin door. As of this writing, the coin door is not wired up to the emulators, so it is decorative only. The rejecters do light up. Rather than use the 14V bulbs that came with the door, I simply mounted a small fluorescent bulb just above and behind the door. |
| |
|
|
 |
|
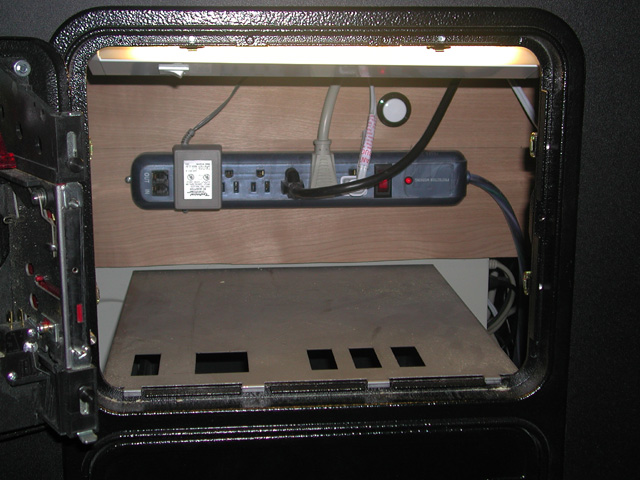
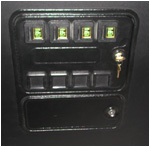
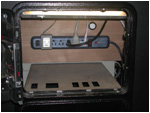
The coin door opened up, showing the access to the power switches. The power strip switch turns most of the machine on and off (the monitor, marquee, lights and fans), while the white button powers the computer on and off (I wanted the ability to leave the computer on while the rest of the machine was off. |
| |
|
|
 |
|
The Act-Labs lightgun in its holster. |
| |
|
|
 |
|
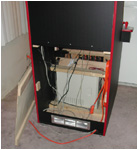
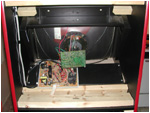
The lower door opened to reveal access to the computer. To remove the control panel, this door is removed, and the panel clamps are released from behind. |
| |
|
|
 |
|
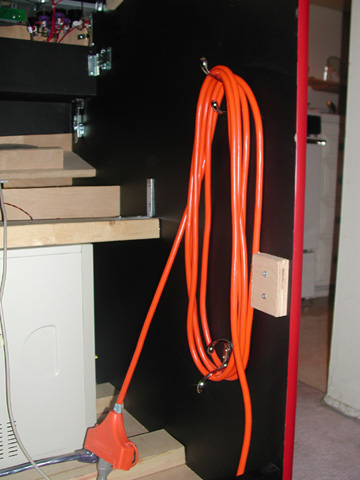
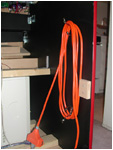
The extension cord that is stored inside the machine. |
| |
|
|
 |
|
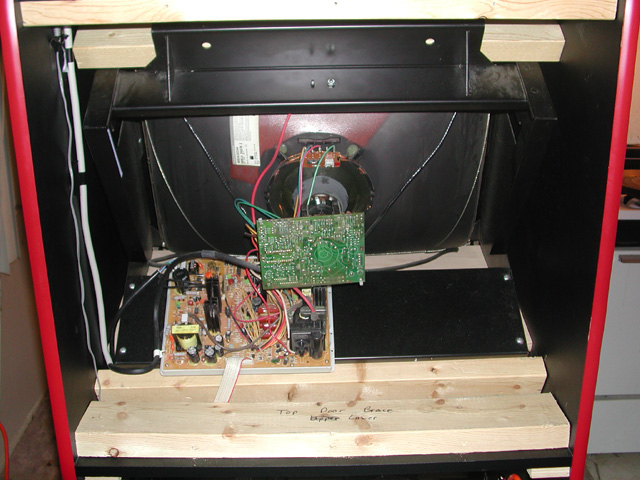
The upper door of the machine removed, revealing the monitor where is has been mounted. |